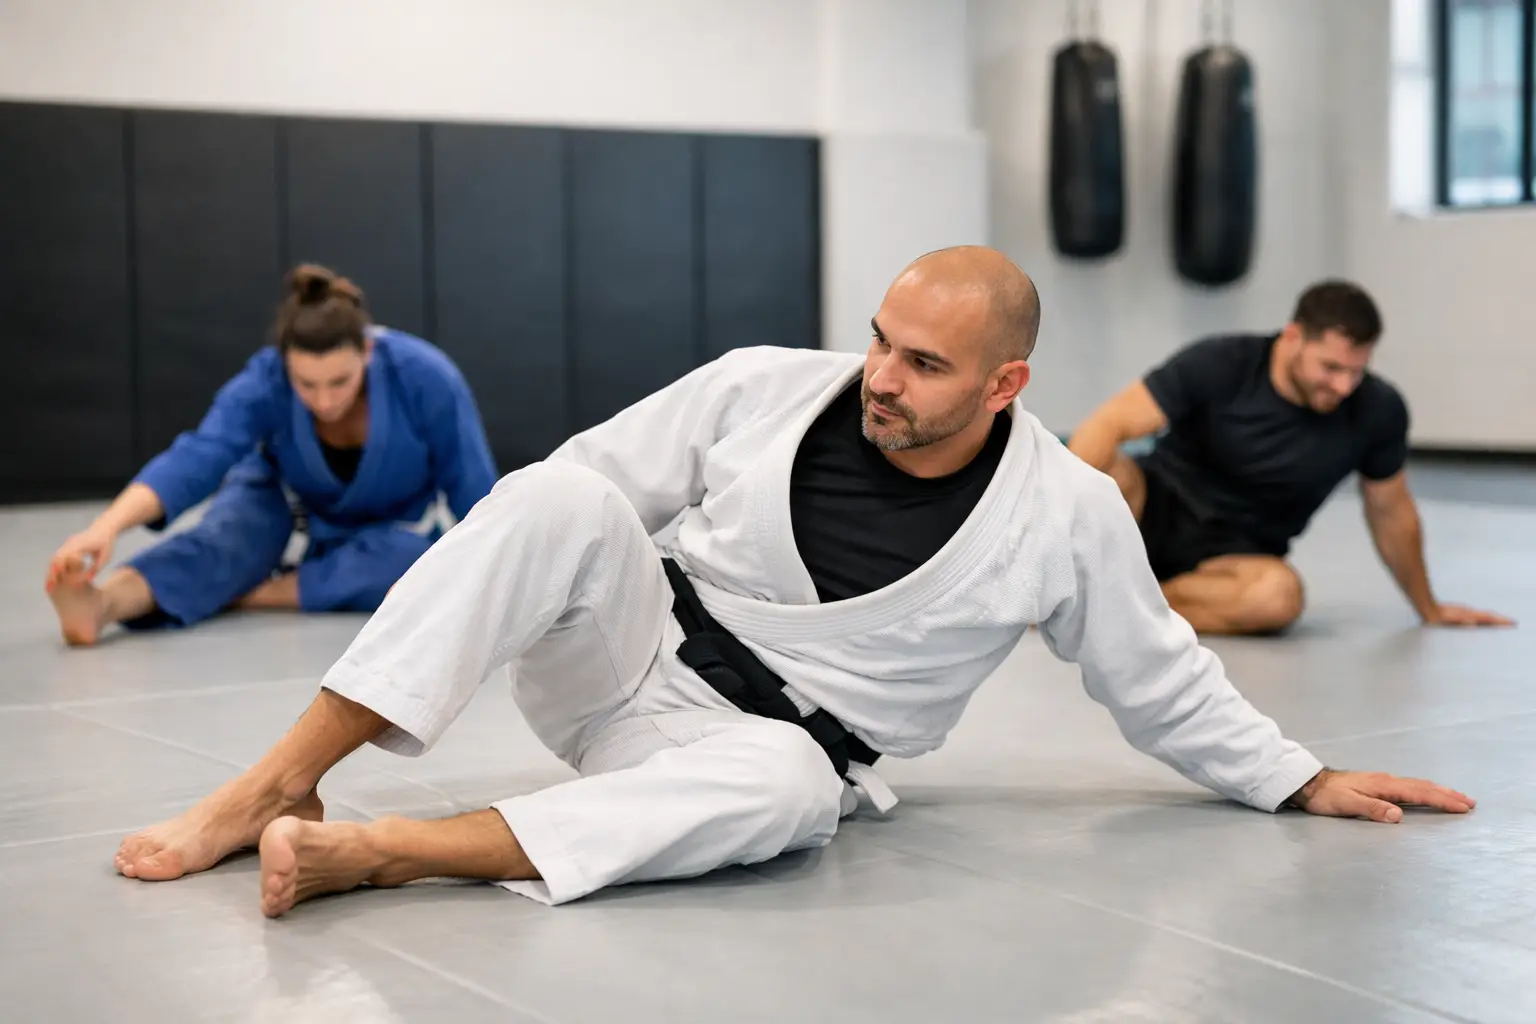
A tight hip may not bother you during the first round. It shows up when you cannot pummel your knee back inside for guard retention, rotate through a scramble, or change levels cleanly for a takedown. The best BJJ mobility drills are not random stretches before class. They build usable range of motion, control at the edge of that range, and stronger positions for the movements grappling repeatedly demands.
For BJJ athletes, mobility is not simply flexibility. Flexibility is the passive range a joint can reach. Mobility is the ability to actively control that range under your own strength, balance, and breathing. That distinction matters when someone is trying to pass your guard, flatten your hips, or force your shoulder into an uncomfortable angle.
What Makes a Mobility Drill Useful for BJJ?
A drill earns its place when it improves a position you use on the mat: a deep squat for wrestling entries, hip rotation for open guard, thoracic rotation for framing and posting, or shoulder control for gripping without constantly irritating the joint. The goal is not to chase extreme range. It is to own enough range to move efficiently and stay resilient.
Use mobility work in one of two ways. Before training, choose dynamic drills that raise temperature and prepare the joints for the patterns ahead. On recovery days or after class, slow the tempo down and spend more time in controlled end ranges. Neither approach needs to take 30 minutes. Ten focused minutes, performed consistently, will do more than an occasional long stretching session.
10 Best BJJ Mobility Drills
1. 90/90 Hip Switches
Sit with both knees bent at roughly 90 degrees, one leg in front and one to the side. Rotate both knees to the opposite side without using your hands if possible, then sit tall before changing sides again. Move slowly enough that your pelvis stays controlled instead of rolling across the floor.
This drill develops internal and external hip rotation, two qualities that matter in seated guard, knee-shield positions, triangles, and transitions underneath an opponent. If the no-hands version is too demanding, place your hands behind you for support. Progress by lifting the hands away, pausing at each side, or adding a forward hinge over the front shin.
2. Shin Box Get-Ups
Start in the same 90/90 position. Drive through the shins and feet, lift your hips into a kneeling position, then return under control. Alternate the side you begin from.
Shin box get-ups connect hip rotation to a level change. That makes them more transferable than passive hip stretching alone. They also expose side-to-side differences that can affect your ability to wrestle up from guard or build a stable base during a scramble. Keep the movement smooth, and do not force depth if a knee or hip pinches.
3. Adductor Rock-Backs
From hands and knees, extend one leg straight to the side with the foot flat or toes facing forward. Keep a neutral spine, push your hips back toward the heel of the bent leg, then return forward. The extended leg should feel a gradual inner-thigh stretch, not a sharp pull.
Your adductors work hard in closed guard, butterfly hooks, leg pummeling, and squeezing mechanics. They also help stabilize the pelvis during change-of-direction work. Rock-backs prepare that tissue while teaching you to move from the hips rather than collapsing through the lower back. Eight to 12 controlled repetitions per side work well in a warm-up.
4. Cossack Squats
Stand in a wide stance and shift your weight into one hip, bending that knee while the other leg stays long. Keep the working foot grounded, chest tall, and the straight-leg toes pulled up if that feels comfortable. Shift back through center and repeat on the other side.
Cossack squats train lateral hip strength, ankle mobility, and adductor length together. Those qualities carry over to passing stances, sprawls, base recovery, and wide guard positions. Use a support such as a rack or wall if balance limits the movement. The objective is controlled depth, not touching the floor at any cost.
5. Deep Squat Pry With Breathing
Drop into a comfortable deep squat with your feet flat and heels supported if needed. Place your elbows inside the knees, gently press the knees outward, and take slow nasal breaths. On each exhale, allow the hips and ankles to settle without rounding aggressively through the spine.
A usable squat position helps with takedown entries, low passing, standing guard breaks, and getting up from the floor. Breathing is part of the drill because high tension often makes a position feel less available than it truly is. If you cannot keep your heels down, elevate them slightly. Over time, work toward less support rather than forcing the ankles into pain.
6. Knee-to-Wall Ankle Mobilizations
Face a wall in a half-kneeling or standing position. Keep one foot flat several inches from the wall and drive the knee forward until it lightly touches the wall, without the heel lifting or the arch collapsing. Adjust your distance to find a challenging but controlled range.
Limited ankle dorsiflexion changes your squat, shot, base, and ability to stay heavy through the feet. It can also push unwanted stress into the knees. Perform eight to 15 reps per side, with a brief pause near end range. This is a small drill with a large payoff for grapplers who feel stuck on their toes during level changes.
7. Controlled Articular Rotations for the Hips
From a quadruped position, lift one knee out to the side, rotate it behind you, and return it to the starting position in a slow circle. Reverse the direction after your repetitions. Make the circle as large as you can control without twisting your torso or shifting away from the working hip.
Hip controlled articular rotations build strength through the joint's available range. They are particularly useful for athletes who have range in warm-ups but lose it when they must stabilize on one side, such as during guard retention or rotational escapes. Quality matters more than speed. Three to five deliberate circles each direction is enough.
8. Open Books for Thoracic Rotation
Lie on your side with hips and knees bent, arms straight in front of your chest. Keep the knees stacked as you open the top arm across your body, rotating through the upper back. Follow your hand with your eyes, then return slowly.
Thoracic rotation supports stronger frames, more efficient shoulder movement, and better posture when you are fighting for underhooks. It also helps prevent the lower back from doing all the rotational work during scrambles. If your knees lift as you rotate, place a pad or yoga block between them and reduce the range.
9. Scapular Push-Ups
Set up in a high plank with elbows straight. Without bending the arms, let the chest move slightly between the shoulders, then press the floor away until the upper back gently rounds. Keep the neck long and ribs controlled.
This drill trains the shoulder blades to move well on the rib cage, which is essential for posting, framing, hand fighting, and protecting the shoulder under load. Do not turn it into a regular push-up. Ten slow repetitions can wake up the serratus and upper-back control that many grapplers miss when their shoulders feel tight.
10. Half-Kneeling Hip Flexor Lift-Offs
Set one knee on the floor and place the other foot in front. Tuck the pelvis slightly, squeeze the glute of the kneeling leg, and shift forward only a small amount. From there, raise the arm on the kneeling-leg side overhead and reach gently toward the opposite side.
Sitting at work, driving to class, and training bent over in wrestling exchanges can leave the front of the hips feeling restricted. This drill gives the hip flexor a lengthened position while demanding pelvic control. Avoid arching your lower back to create fake range. A strong glute squeeze should make the position more honest and more useful.
Build a Mobility Routine Around Your Training Week
Before BJJ class, choose four or five drills and complete one round at a controlled pace. A practical sequence could include knee-to-wall mobilizations, 90/90 hip switches, adductor rock-backs, scapular push-ups, and open books. This prepares the hips, ankles, shoulders, and upper back without draining energy needed for live rounds.
On two non-consecutive recovery days, use a slower session of 15 to 20 minutes. Add shin box get-ups, Cossack squats, hip rotations, and deep squat breathing. Stay out of painful ranges and use the session to assess your body. If one hip consistently feels blocked or one shoulder loses range after training, that information should shape your strength work and class volume.
Mobility should also match your current phase. A grappler preparing for competition may need brief maintenance work around hard sparring and conditioning. Someone returning from a minor injury may need more controlled range, lower intensity, and exercise substitutions that respect the irritated area. A structured system like MatFlow can help organize those adjustments so mobility supports your training plan instead of becoming another disconnected task.
Do Not Confuse Mobility With a Fix for Pain
Mobility drills can improve movement options, but they do not diagnose injuries. Sharp pain, recurring instability, numbness, swelling, or a joint that feels worse after every session deserves evaluation from a qualified medical professional. Pushing harder into a painful end range is rarely the disciplined answer.
For normal stiffness, stay consistent. Train the range you need, add strength around it, and reassess whether your guard, shots, posture, and recovery improve over several weeks. The best mobility routine is the one that leaves you better prepared to train hard, recover well, and move with confidence when the round gets chaotic.